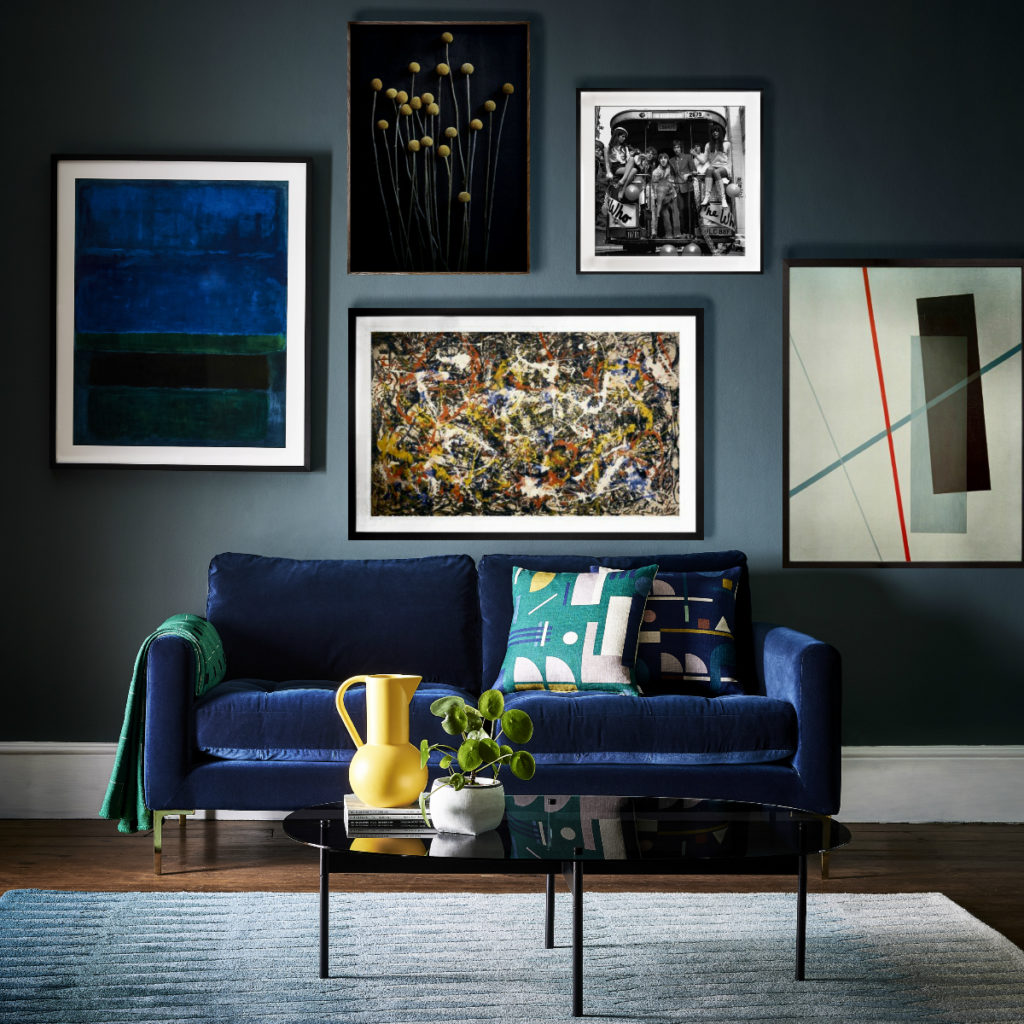
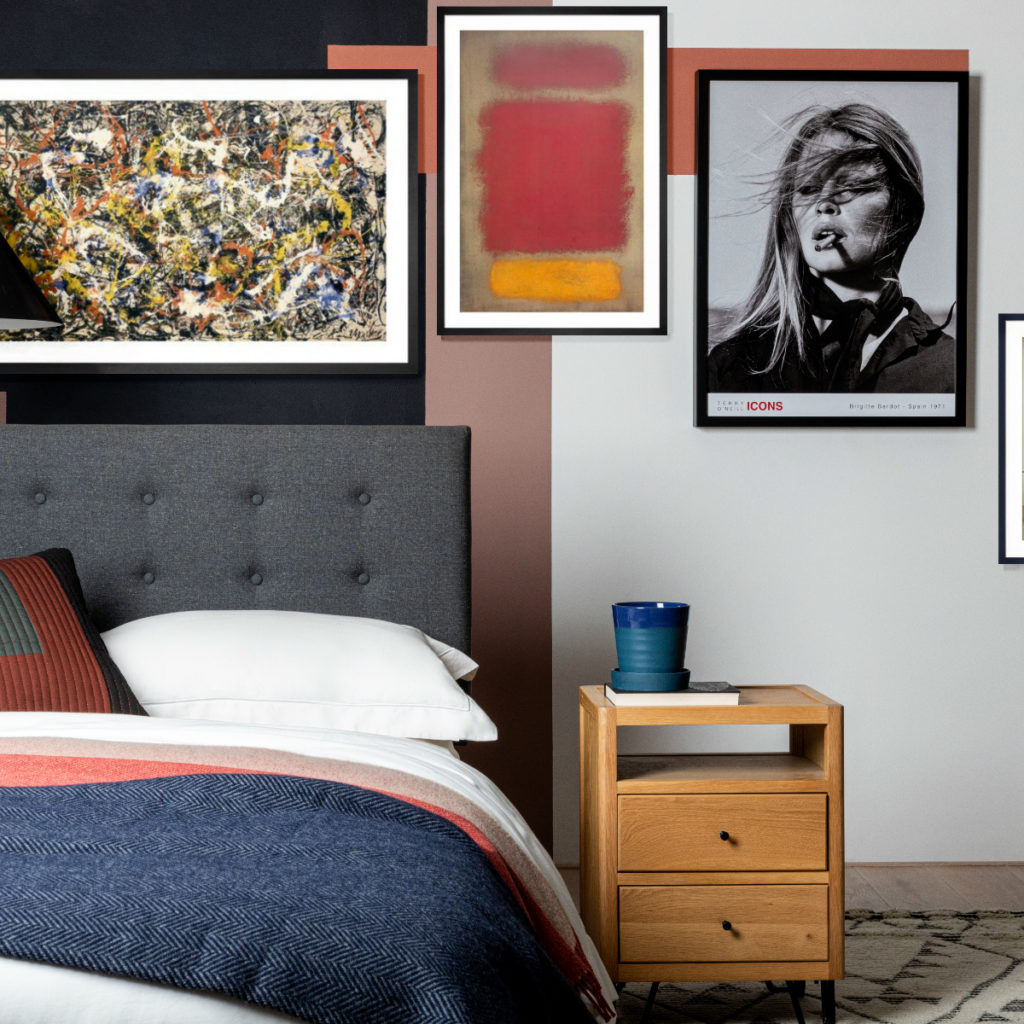
Found in living rooms, offices and cafés across the globe, the picture wall trend shows no signs of stopping. Also known as a gallery wall, this versatile feature is a great way to add personality to your home. The best part is that it’s easy to do yourself.
While creating a picture wall can be a daunting prospect, there is plenty of helpful advice out there. We will guide you on how to pick your prints, how to hang a picture frame and what mistakes not to make.

Choose with care
First of all, select what you would like to display on your wall. Combine art reproductions, original drawings and pressed flowers with photographs and children’s artwork. When picking your frames, don’t be afraid to get crafty. Spruce up an old frame with a lick of paint or recycle leftover DIY materials to create your own personalised design.
TOP TIP
A picture wall comes into its own when it looks collected. We recommend taking your time to compile every print and frame you’d like to include, rather than buying them in bulk.

Laying it out
One way of laying out your picture wall is to plan it round your favourite piece of artwork. This can mean coordinating your colour scheme round it or using it as a central focus for the entire wall. Once you’ve made your selection, use masking tape on the wall to find the perfect placement.
Before you get the hammer out, consider whether using nails is the way to go. If you live in a rented property or are likely to reorganise your gallery wall regularly, then picture hanging strips might be a good choice.
TOP TIP
Don’t just stick to traditional frames. If you’re feeling adventurous, why not use washi tape to display your prints? This works particularly well when displaying low-cost items like postcards.

Now to hang it
Once you’ve created a template for the gallery wall, it’s time to start hanging the pictures. At this point, you may choose to enlist a builder or decorator to help. However, for the DIY enthusiasts it’s time to get crafty.
For small prints, a simple nail or hook will likely do the trick. Medium-sized prints call for two hooks or nails. This is especially the case if the frame is displayed landscape as it is more likely to stay centred. For heavier frames, opt for a more robust anchor, such as a plastic wall plug, to secure it.
If your frame has a wire, remember to take it into account when measuring up.
